In the Tutorial DataHub I we analysed the architecture of this platform. In this post, we are going to see a guide on how to deploy DataHub and start working with this tool.
DataHub can be deployed in two ways: with Helm or with Docker images. The deployment is very oriented to work with containers. The main reason is that, as we saw in the previous article, DataHub depends on many interconnected services. Therefore, developers save us the effort of setting up this interdependency using Docker Compose and Helm.
Deploying DataHub with Docker
In order to deploy, we need to have Docker and Docker Compose installed. The easiest way to get DataHub up is through Docker images. We can easily deploy all these images as follows:
Warning: The documentation warns us not to use the images labelled latest or debug. Use the ones marked as head to get the latest version. This is mainly because the project is configured with a continuous deployment system that updates the images at each commit.
- acryldata/datahub-ingestion
- acryldata/datahub-gms
- acryldata/datahub-frontend-react
- acryldata/datahub-mae-consumer
- acryldata/datahub-mce-consumer
- acryldata/datahub-upgrade
- acryldata/datahub-kafka-setup
- acryldata/datahub-elasticsearch-setup
- acryldata/datahub-mysql-setup
- acryldata/datahub-postgres-setup
- acryldata/datahub-actions (deprecated)
Throughout this series we will use the following configuration:
- Ubuntu 22.04
- Python 3.11.9
- Docker 27.0.3
- Docker Compose 2.20.3
- Helm 3.15.3
The first thing we are going to do is to create a Python virtual environment in which we will work. In my case, it will be called datahub-test. Let’s get started.
We install the Python packages from DataHub:
pip install --upgrade pip wheel setuptools
pip install --upgrade acryl-datahub
We launch the key command that will allow us to download all the images:
datahub docker quickstartWhat this command is doing internally is creating a folder in your home with the following content:

In the ~/.datahub/quickstart directory we can find a docker-compose.yml that will be executed when this command is launched.
Once this command has finished, we will see that all the services are exposed and, among them, there is the one called datahub-datahub-frontend-react-1, which exposes port 9002.
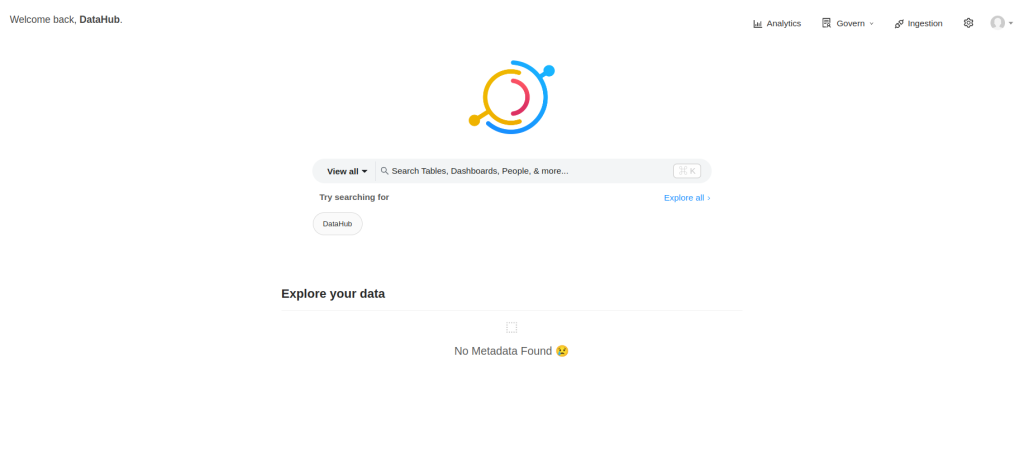
To access the web, we can do it through localhost:9002 and enter the credentials: User: datahub; password: datahub.


Congratulations! We have successfully deployed DataHub for the first time. Next, we will ingest some sample data and explore the deployment options a bit more.
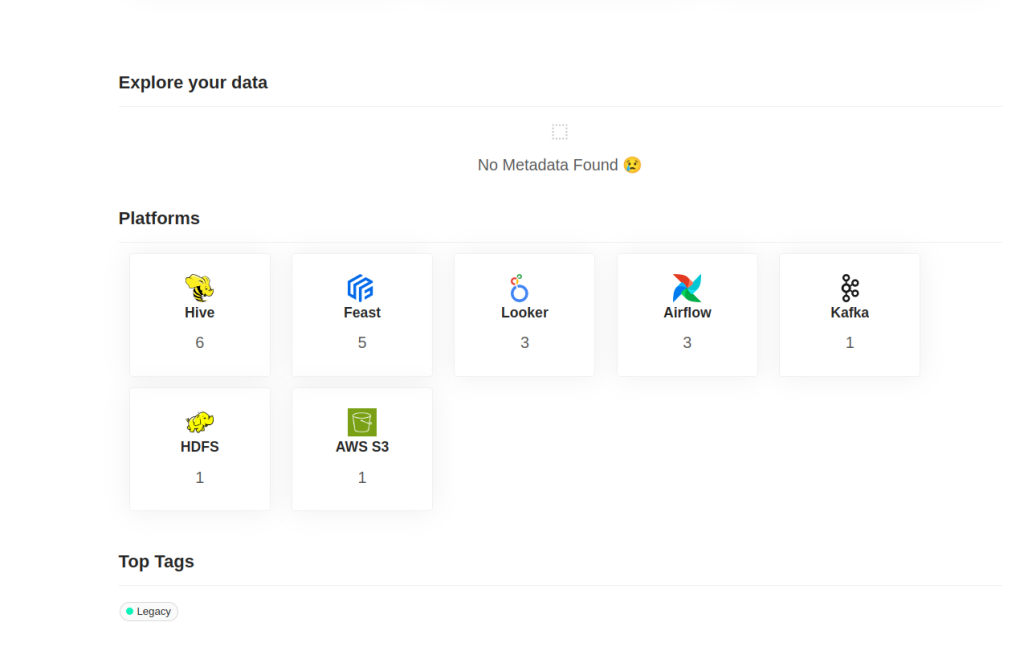
datahub docker ingest-sample-dataNow we can see the following ingested data.

There are several simple commands that allow us to manage the platform, all of them are under the datahub. The following command allows us to delete and clear the status of the platform:
datahub docker nukeSometimes we want to save the status of the platform, and to do so, we have the following command:
datahub docker quickstart --backupThis will generate a file normally in the ~/.datahub/quickstart/backup.sql path.
In the end, this backup is a dump of the mysql database where there is a table that persists all the data. The table is metadata_aspect_v2, it is a unique table that we can restore at any time.
To restore the state we use the following command:
datahub docker quickstart --restore --restore-file <<my_backup_file.sql>>Deploying DataHub in productive environments
The deployment we have seen, quickstart, is very convenient, but it is not recommended for productive deployments. It is oriented to be carried out on a single machine, deploying on it all the transversal services on which DataHub relies.
For this deployment, it is recommended that the DataHub cluster has at least 7GB of free RAM.
DataHub, as we have seen, is divided into four components: two optional and two required. GMS and Frontend are required components, while MAE Consumer and MCE Consumer are mandatory. All of them will be deployed as subcharts within the main Helm chart. In this link we find the Helm github from DataHub.
For our demo, we will build a Kubernetes cluster with Minikube. If you don’t know Minikube I recommend you to check our post What is Minikube and how it works.
The first thing we need to do is to create a series of secrets in the Kubernetes cluster to be able to deploy all the services.
kubectl create secret generic mysql-secrets --from-literal=mysql-root-password=datahub
kubectl create secret generic neo4j-secrets --from-literal=neo4j-password=datahub
To deploy with Helm, the easiest way is to add the repository to our Helm. However, we can also do this manually via the GitHub repository. You can access the documentation at DataHub Helm Charts.
Once the repository has been installed, we need to raise a series of services that are basically backend services: Kafka, Mysql, Zookeeper.
helm install prerequisites datahub/datahub-prerequisitesAfter that, it remains to install the main DataHub service.
helm install datahub datahub/datahubAfter installing it, we should see the frontend, gms, mae and mce services inside the cluster.
In order to be able to consume the frontend service, port-forwarding is necessary.
kubectl port-forward <datahub-frontend pod name> 9002:9002All services can be installed separately, but we enter into more complicated territory, as we have to edit Helm’s YAML files. However, this is highly recommended for reusing certain cross-cutting services within your organisation, such as MySQL services within your cloud. All of this can be configured in the form of properties within the chart.
Congratulations! Now we can start working with DataHub in an operational way.
Conclusion
In this post we have covered the basics of DataHub deployment, both with Docker and Helm. This type of deployment is focused on development or pre-production environments, for a more robust and scalable approach it is recommended to see the DataHub documentation.
However, this environment will be ideal for the next posts in this series, in which we will work with our platform already up and running, so we are ready to start working and get the most out of DataHub!
If you found this article interesting, we encourage you to visit the Data Engineering category to see similar posts to this one and to share it on social networks. See you soon!

